Short description
By means of the “User administration tool” it’s now possible to configure and issue specific user rights.
Short description
The manager tool “Automation” will serve to elaborate and define measuring plans, thus facilitating further operation of the TeZetCAD software during the measurement procedures. For efficient scheduling first of all the master pipe data has to be stored and the memory location for the measuring and correction data has to be defined. Following the measuring method as well as the type of data post-processing, correction and documentation have to be determined. Later on the TeZetCAD user only needs to enter the particular part number and to execute the work steps according to the specified schedule. Correction and accordingly documentation of the data occurs automaticallyafter finishing the measuring process.
Short description
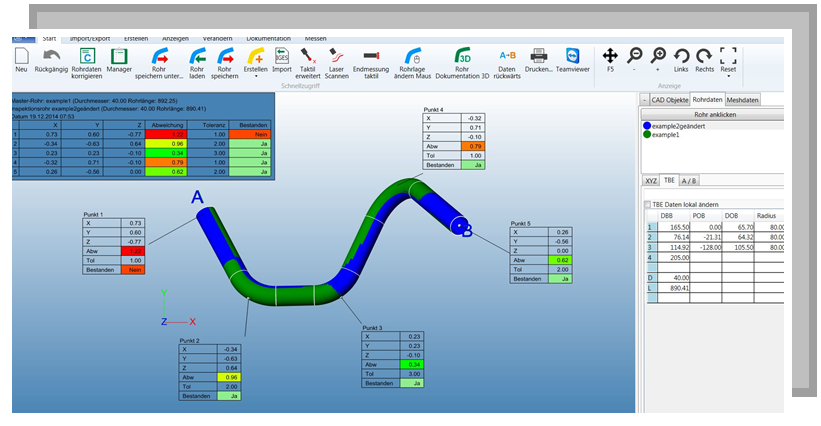
This allows the user already before measuring to assign tolerance values for each
x,y,z – intersection points. Directly after the measuring process the result is displayed
in the form of a color scheme, from which it is apparent at a glance whether
the tube is within the predetermined tolerance okay or not okay.
Short description
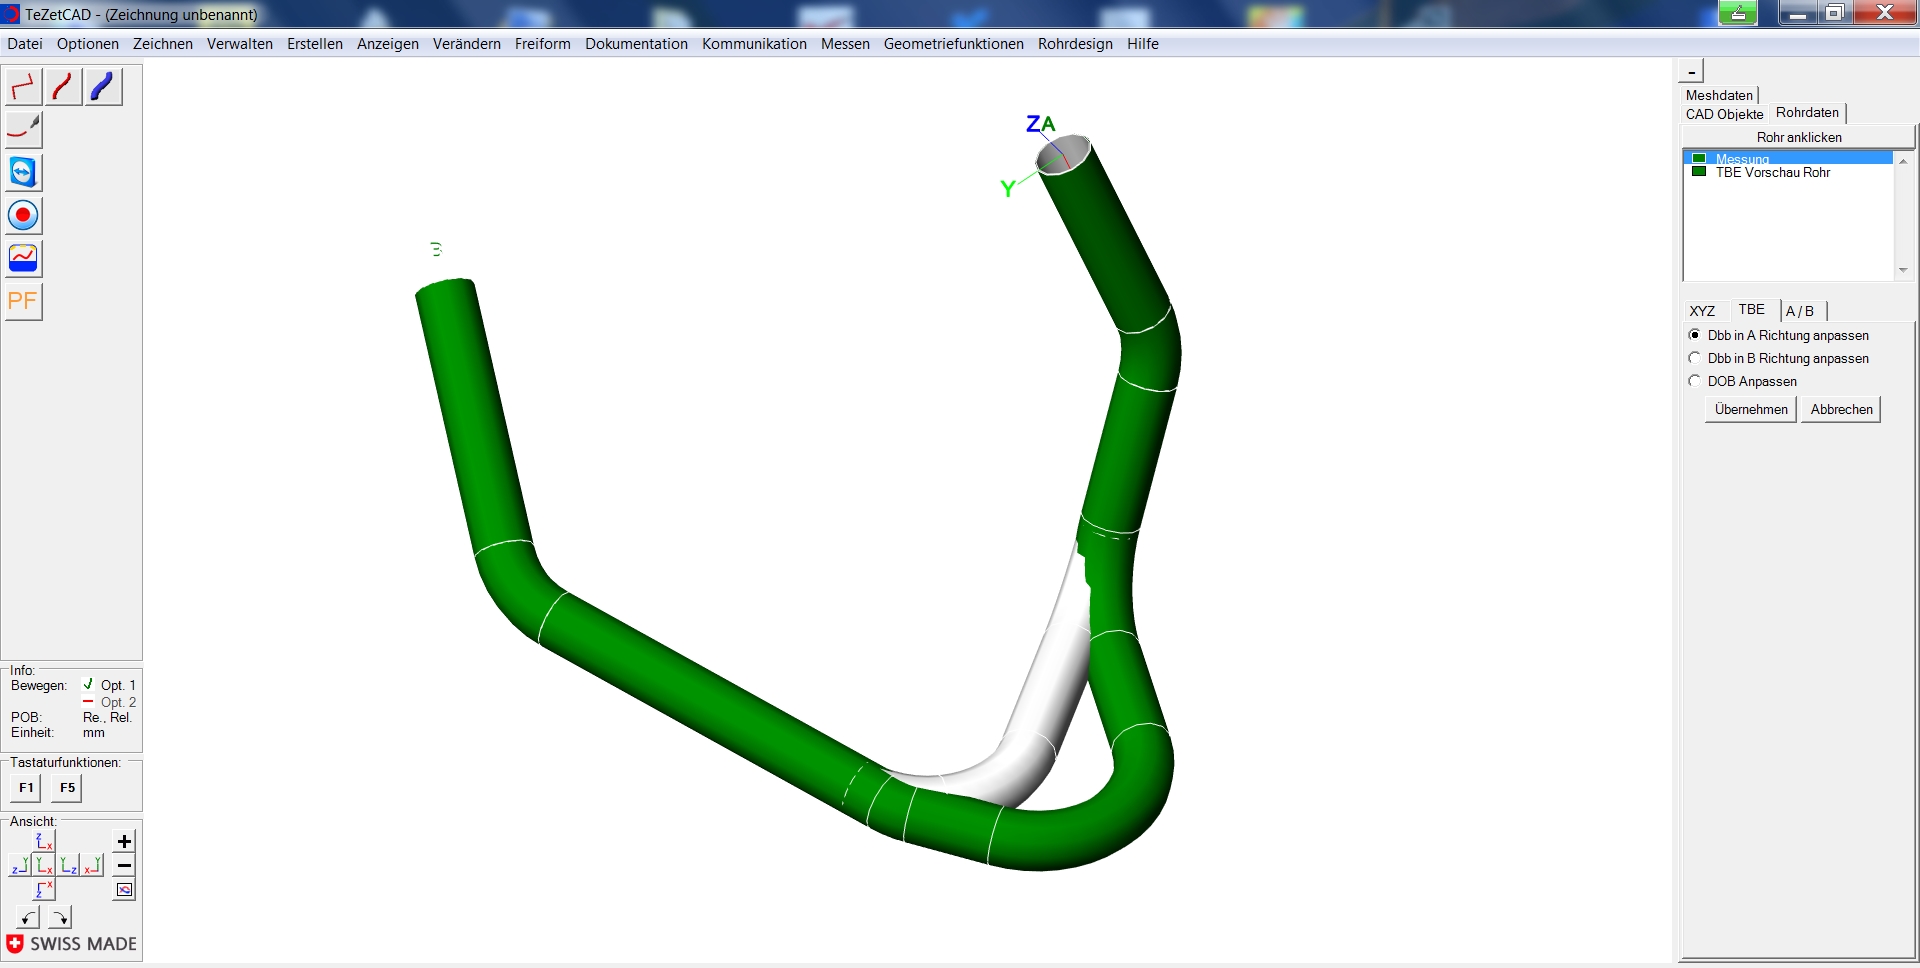
With this function can be changed a tube after the actual
measurent process later in the lengths (DDB), rotations (POB)
and bending angles (DOB)
without displace the A- and B-end.
Within the function, the modified tube to the original tube appears at
each change green, so the user immediately see what commared to
the “original tube (transparent)” hass been changed.
This feature is particularly useful in conjunction with the TeZetCAD
function ” define tube tactile” and the TeZetCAD function “distort tube”
around the tube data to adjust later or possibly preparing the data
for the bending machine newly taking into account of clamping jaws
lengths, or important benders criteria.
Short description
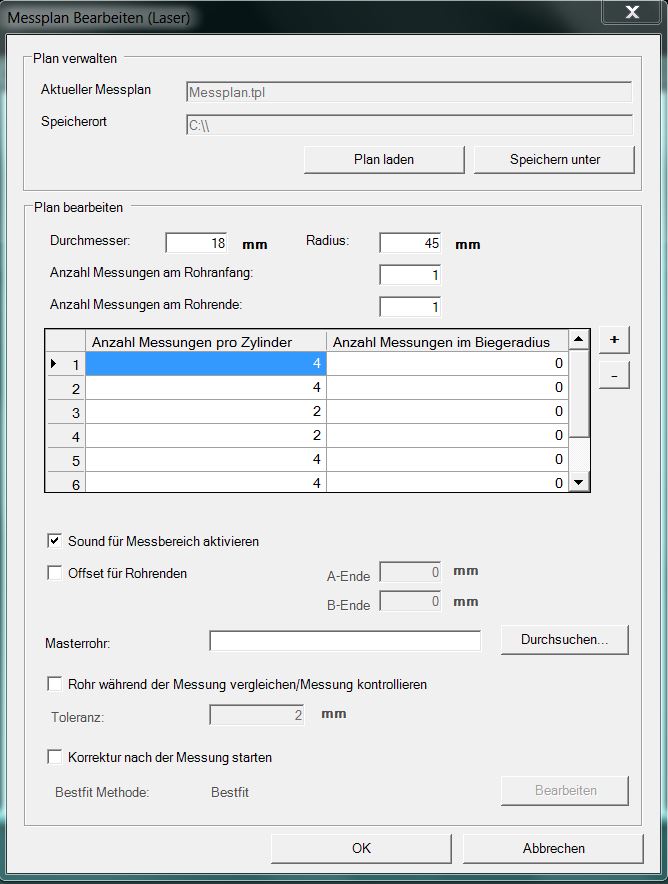
This feature has been specialy developed for this to the case of complex
tube geometries (weak bending angle-rotation) several
measurement points at “crtical cylinders” take to accomplish the best
possible measurement reults. Within this this function, the user has the
option for themselves and for other (shift work) to create a
measurement plan for the current tubes. This ensure that every user,
even for complex tube geometries, has the same prerequisites during the
measurement process.
Short description
With this function the user has the possibility to chosse,
wich dimensioning he wants to create.
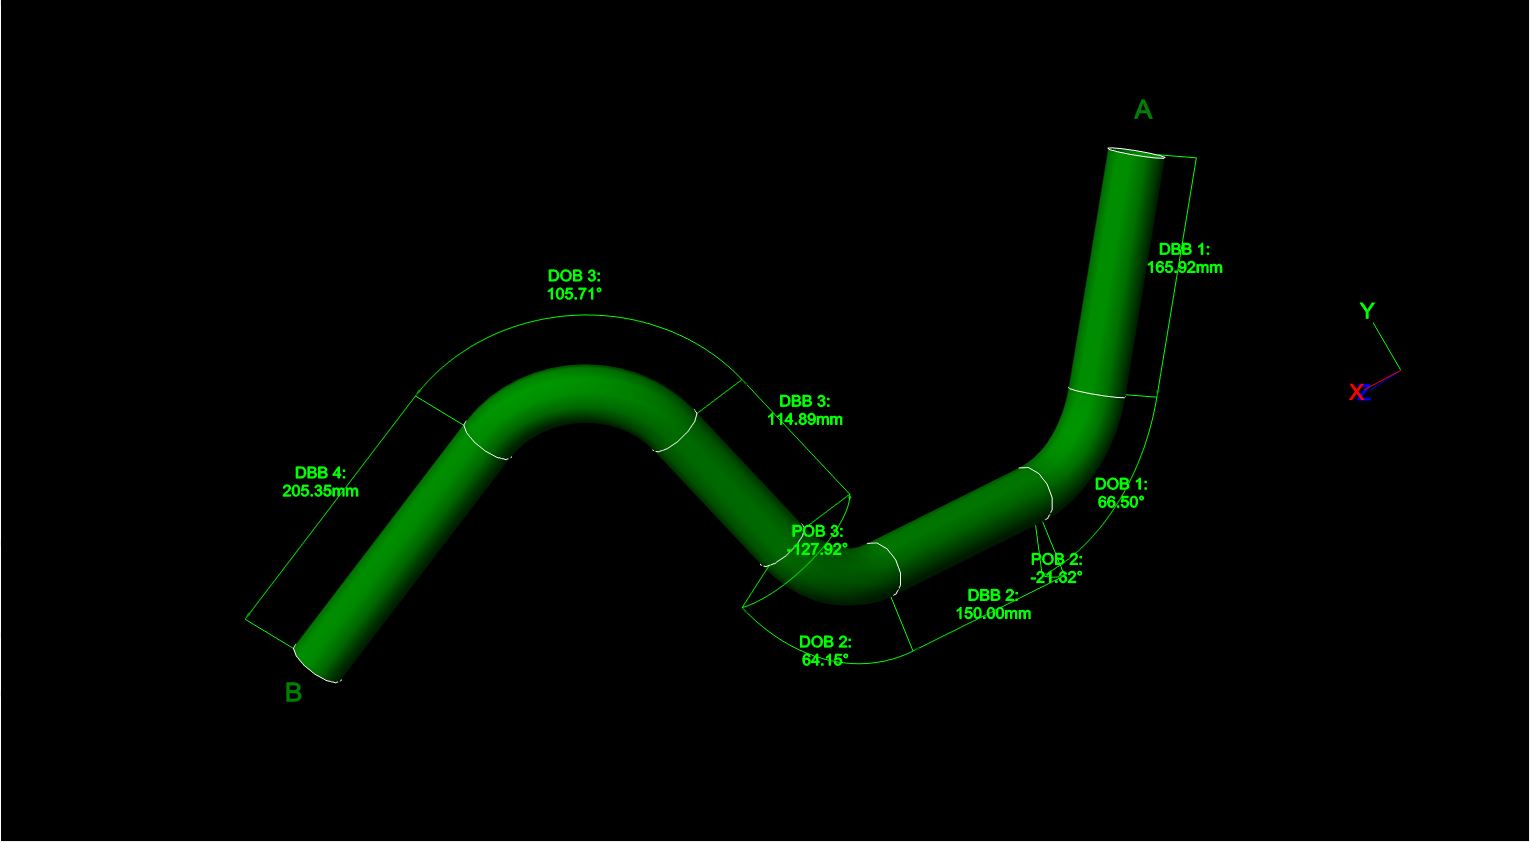
This can be in the length (DBB), rotation angle (POB), bending angle (DOB),
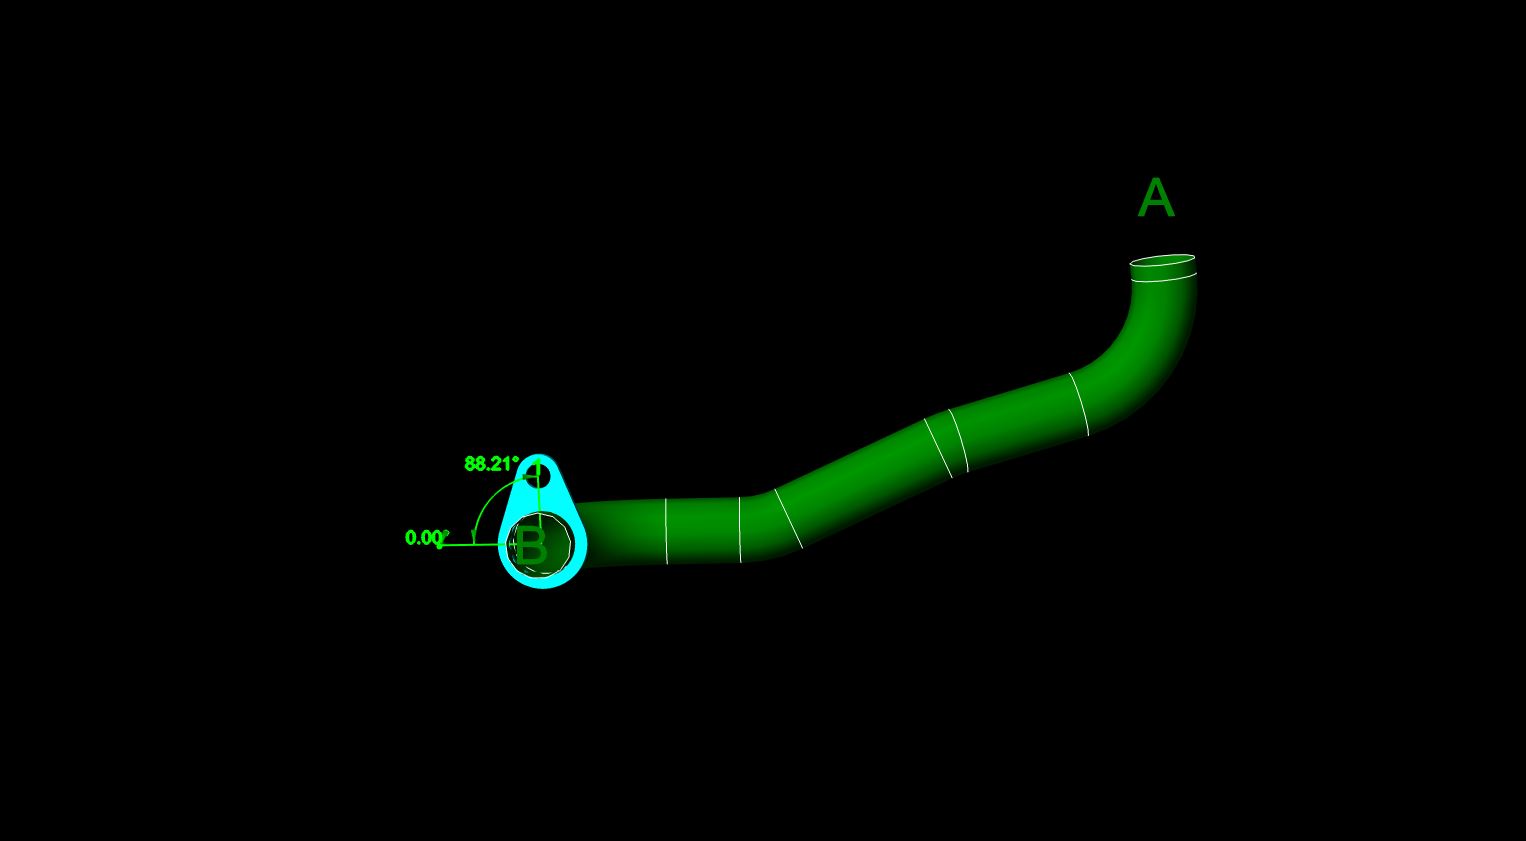
x,y,z data or the angle from the flange to the bending plane.
